A Canadian Homeowner’s Checklist for Freeze–Thaw Weeks

A fully installed sump pump system in a basement showcases the essential setup for effective flood prevention. (Credit: Jason Kolenda / Shutterstock.com)
A mid-winter thaw can feel harmless—some sun, a little drip off the eaves, maybe rain on top of old snowbanks. But when the ground is frozen, meltwater can’t soak in the way it does in summer. Instead, it runs across the surface, collects beside foundations, and pushes hard on the lowest parts of your home.
At the same time, thaws can stress neighbourhood infrastructure. When meltwater and rainfall arrive together, storm systems and sanitary systems can be forced to handle flows they weren’t designed for at that exact moment. Even if your street looks fine, your basement can still be the low point where problems show up first.
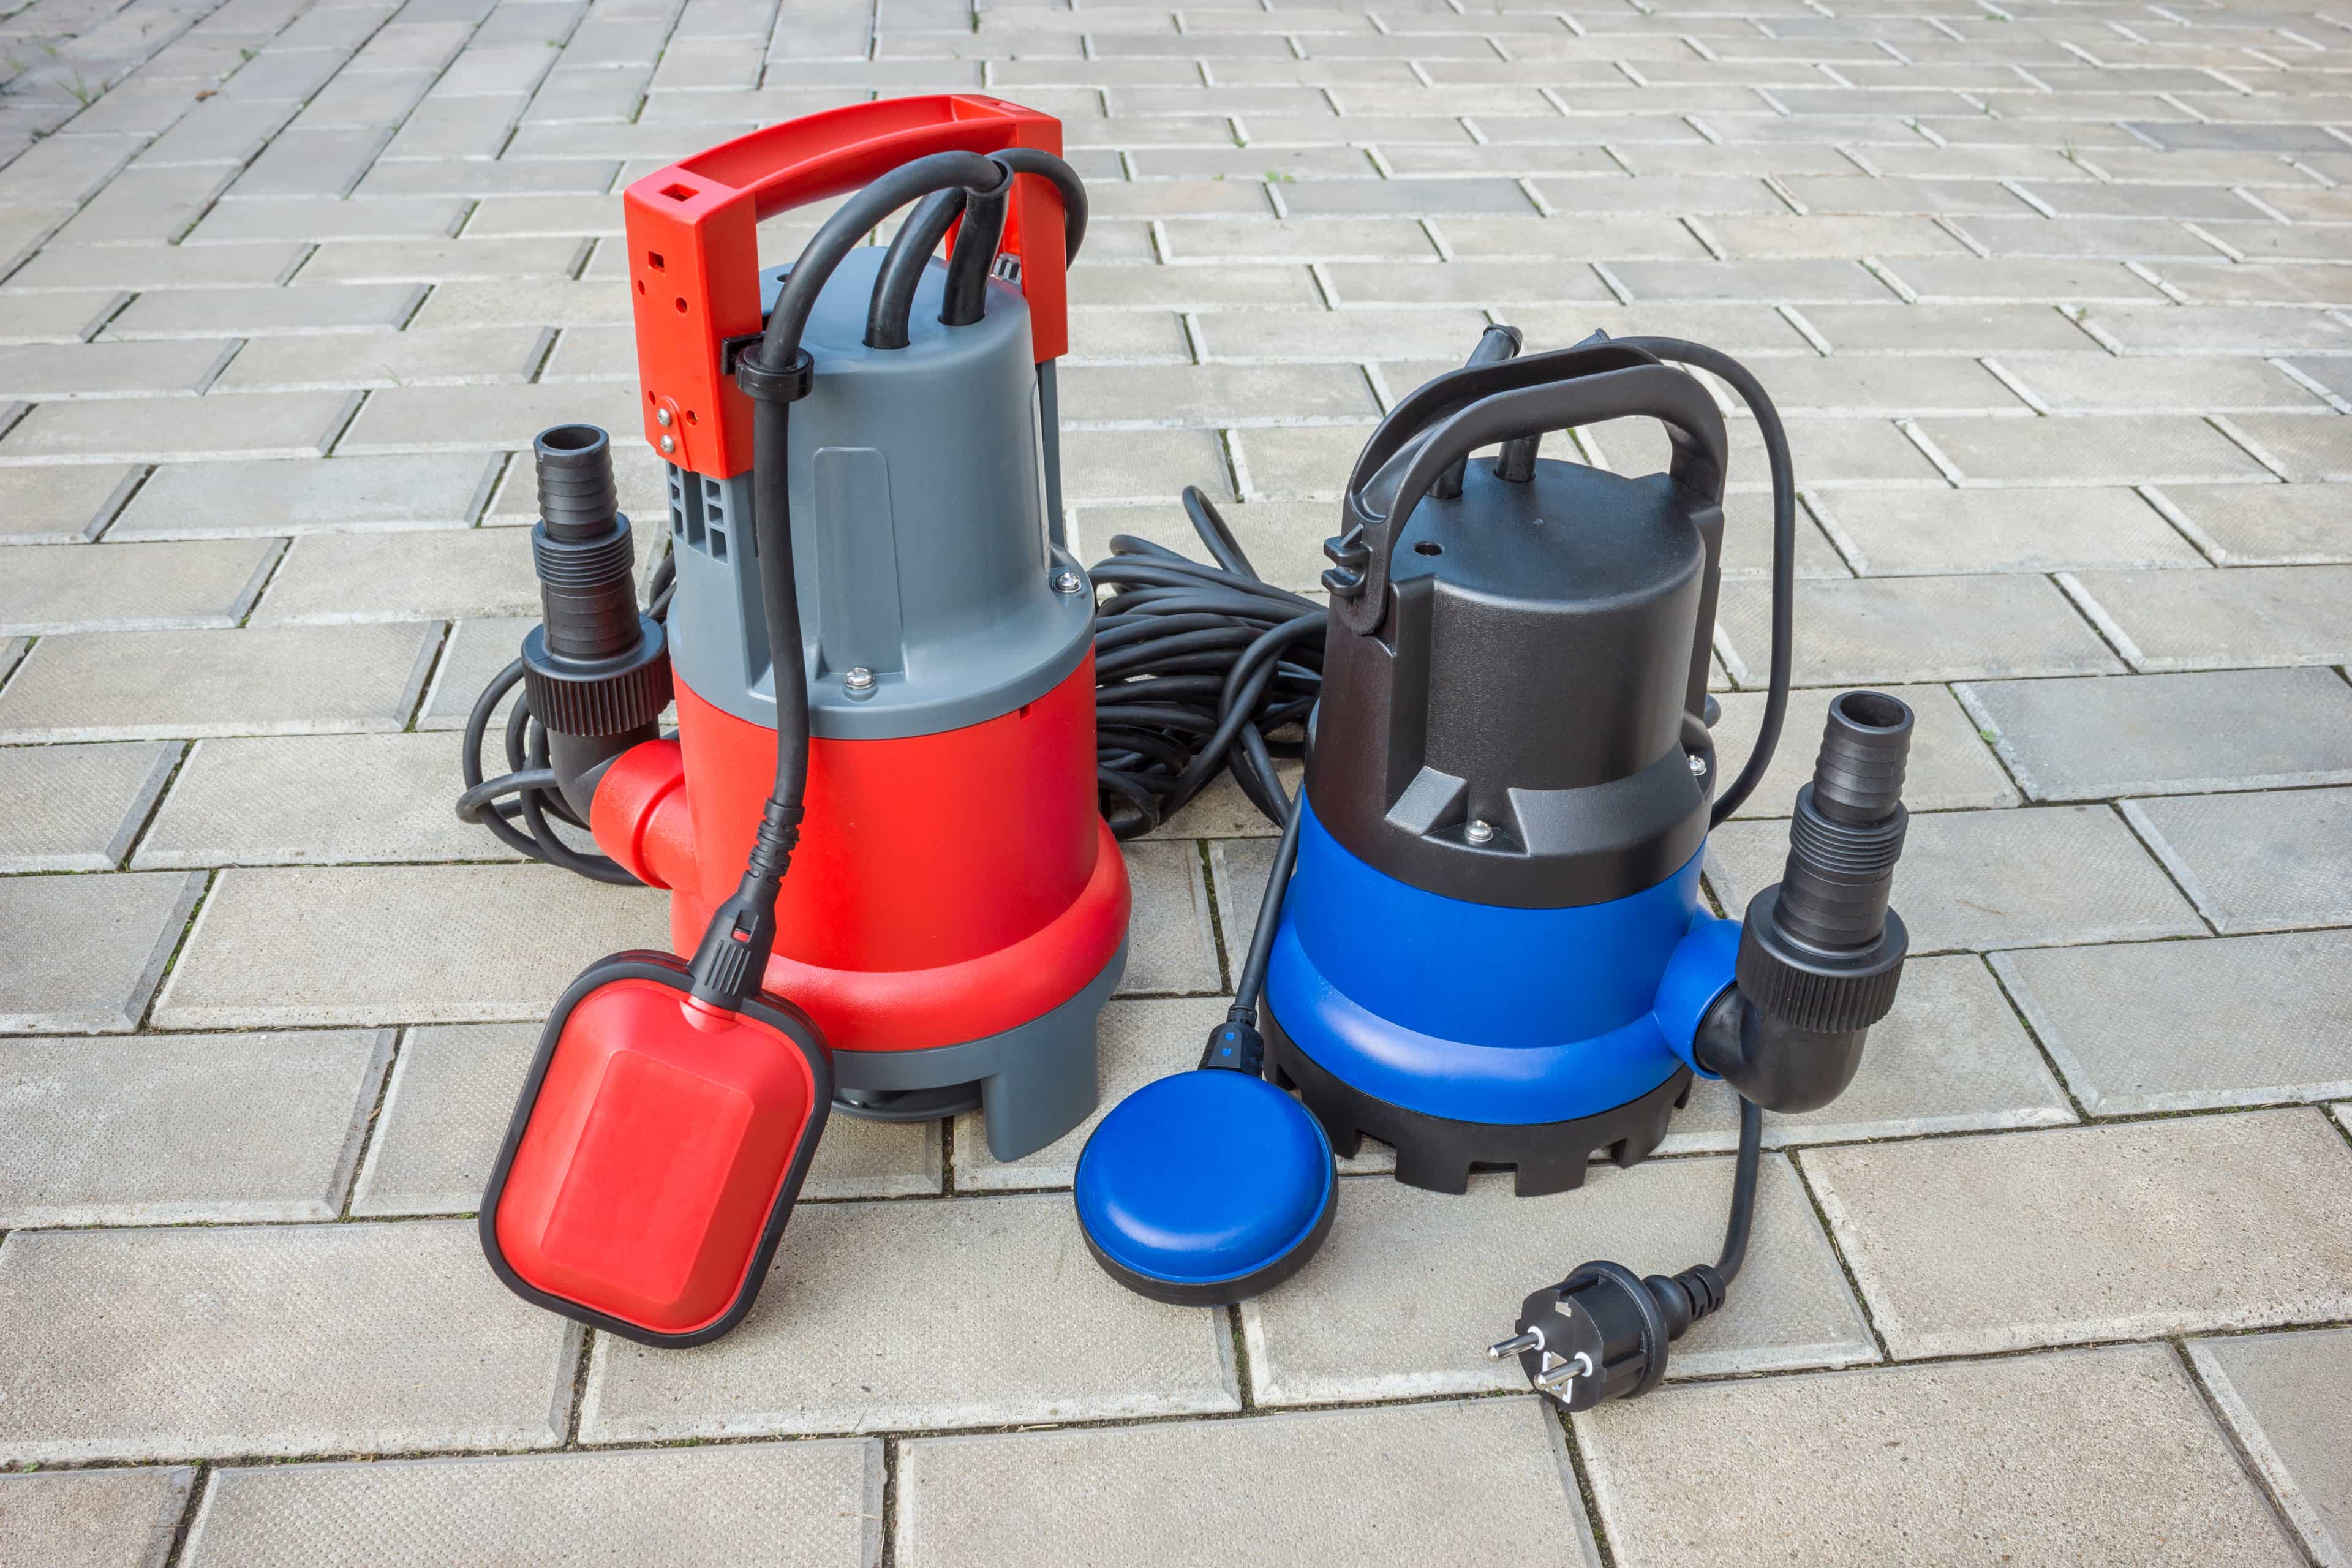
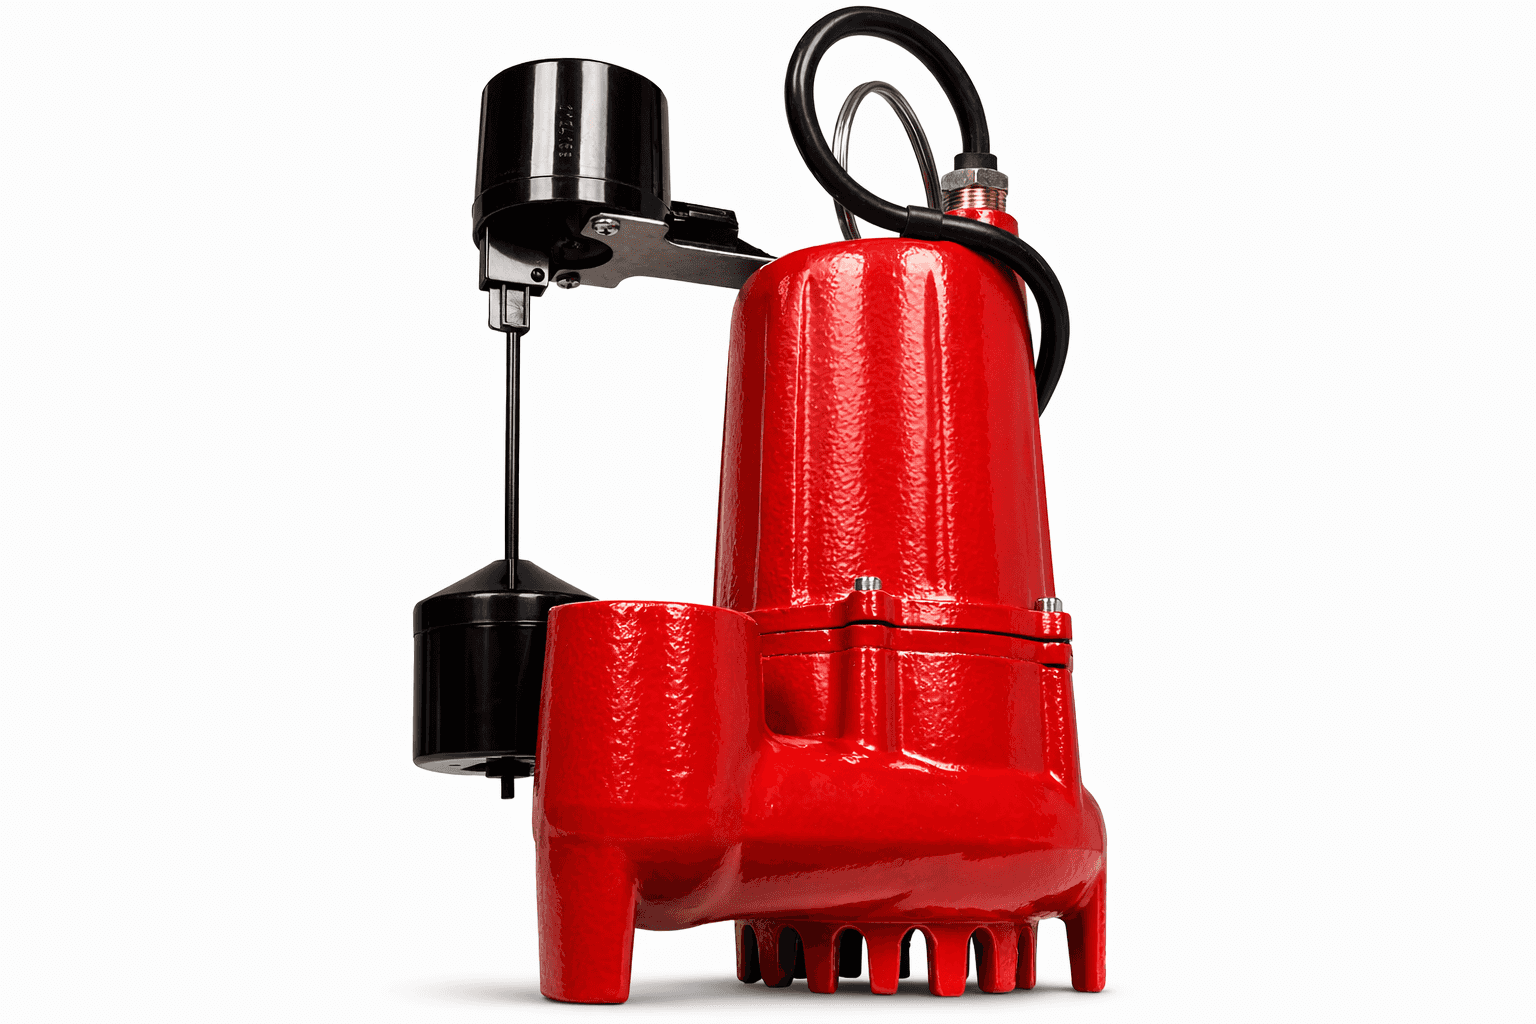
That’s why a winter basement-flooding check shouldn’t be a single-task “test the pump” moment. It should be a short, repeatable inspection that confirms your sump pump can actually move water out of the home and that your backwater valve can do its job if the municipal sewer surcharges.
This guide is built as a practical winter playbook. You’ll learn what typically goes wrong during thaws, how to test your sump pump safely, how to spot discharge-line freeze risks, how to check your backwater valve without turning it into a renovation, and when it’s time to call a licensed professional—especially if you want clean documentation for insurance and warranty conversations later.
Before you touch anything, get clear on what you’re defending against. Winter flooding isn’t one scenario—it’s two, and the fixes are different.
Municipal guidance from the City of Markham’s basement flooding and sewer backup prevention information explains that heavy rain and melting snow can overload local sewer systems, which is why a thaw can raise sewer-backup risk even without visible surface flooding.
Here’s the simplest way to think about it:
If you’re not sure which risk you’re facing, the “tell” is usually where water appears. Clear water near foundation walls points toward groundwater and drainage. Water that smells bad, looks murky, or rises at floor drains points toward sewer backup. In real life, you can also get both at once—especially during rain-on-snow events.
You don’t need a perfect diagnosis to do the winter check. You do need to verify both defences are functional, because thaws can stress both sides of the system in the same week.
A winter check is about proof, not hope. You’re trying to confirm three things: the pump turns on, it moves water, and the water actually leaves the property.
A practical method described in Angi’s guide on checking whether a sump pump is working is to pour roughly a five-gallon bucket of water into the sump basin to lift the float and trigger the pump, then watch for normal cycling and proper discharge outside.
Use that idea as the core of your winter test:
The last step is the difference between “the motor runs” and “the system protects the home.” In winter, blocked outlets and frozen lines can make a working pump effectively useless.
Make this a two-person test during the first thaw of the season if you can. One person runs the bucket test; the other watches the discharge outlet outside. You only need to do it this way once to learn how your system behaves.
Winter thaws often stir up sediment. If your sump pit has fine gravel, silt, or debris, that material can interfere with float movement and switching.
Practical maintenance guidance in American Home Shield’s sump pump maintenance tips emphasizes simple homeowner checks like looking for visible clogs or damage, ensuring key components move freely, and cleaning debris from the sump pit before testing.
A winter-ready sump pit is boring—in a good way. Aim for:
If you’re unsure whether your float is moving freely, treat the pit clean-out as step zero. Most “mystery failures” start as simple mechanical interference.
Keep a small “sump kit” near the pit: nitrile gloves, a plastic scoop, a shop towel roll, and a flashlight. If you need to clean debris during a thaw, you’ll do it faster and you’ll actually do it.
When a float switch misbehaves, it can fail in two dangerous directions: it can fail to turn the pump on, or it can keep the pump running until it burns out.
A common cause described in Angi’s overview of sump pump float switch problems is debris or small stones collecting in the pit and restricting the float’s movement, which can leave the switch stuck.
Use a winter-thaw mindset when you troubleshoot:
Treat float reliability as foundational. Even a perfectly routed discharge line can’t help you if the pump never turns on—or never stops.
If you need to put your hands into the pit to clear debris, unplug the pump first and keep your workspace dry. Electricity and standing water is a combination you never “work around.”
In Canadian winters, the most overlooked failure point is not the pump—it’s the discharge route.
Cold-climate guidance in Basement Systems Canada’s explanation of frozen sump pump drains describes how discharge lines can freeze during freeze–thaw cycles and remain clogged for long periods, which can disable the sump system and lead to flooding.
For a winter check, you’re trying to answer one question: Can the line drain after each pump cycle? If water sits in a flat or undersized section, it can freeze into a plug.
A fast discharge-line inspection looks like this:
If you only do one winter-specific improvement, make it this: ensure the discharge path clears water completely after the pump stops. That single detail often determines whether the line stays functional through a stretch of freeze–thaw weather.
Many homeowners assume that if they can hear the sump pump running, they’re protected. Winter thaws expose why that assumption can be wrong.
Product guidance in Advanced Basement Systems’ description of IceGuard and blocked discharge scenarios explains that if the discharge pipe is blocked by snow, ice, or internal freezing, the pump can continue operating without successfully expelling water, which can still result in a flooded basement.
In practical terms, that means your winter check must include visual confirmation of discharge at least once per thaw season. If you’ve never watched your system move water outside, you’re relying on sound and guesswork.
Here are the high-signal indicators that discharge is failing even if the pump runs:
This is also why winter checks are best done during an actual thaw or rain event. You want to observe the system under real conditions, not just in a dry basement on a cold day.
If you suspect discharge is blocked, don’t keep forcing cycles “to see if it clears.” Repeated run time without discharge can overheat the pump and still leave you flooded.
A discharge line that ends just outside the foundation is a common setup—and a common winter problem. When water exits too close to the wall, it can refreeze into a mound, block the outlet, or drain back toward the footing.
Contractor guidance in Ridgeback Basement Systems’ IceGuard information for Ontario conditions recommends routing the discharge line with a slight slope and running it underground for a meaningful distance to daylight or an appropriate outlet, rather than terminating immediately outside the home.
A winter-resilient discharge layout typically follows three principles:
To translate that into homeowner action:
For many homes, fixing discharge routing is a “call a plumber or waterproofing contractor” task rather than a DIY afternoon. But your winter check should still identify whether the current routing is likely to fail during the next thaw.
If you live in a province where winter snowbanks are measured in feet, discharge freeze-ups aren’t unusual—they’re expected.
Regional contractor guidance in Basement Waterproofing Saskatchewan’s IceGuard overview discusses how winter conditions can leave discharge lines vulnerable to freezing or blockage, which is why cold-weather mitigation is treated as a standard part of basement-flood prevention in that region.
Similarly, Maritimes-focused information in Atlantic Basement Systems’ IceGuard resource frames frozen discharge lines as a practical risk in provinces like Nova Scotia, New Brunswick, Prince Edward Island, and nearby areas where snow and ice commonly obstruct outlets.
The homeowner takeaway is simple: your winter check is not overkill. It’s an appropriate response to the climate reality where you live.
Use regional thinking to guide your priorities:
A sump pump is a mechanical device living in the wettest part of your home. It performs best when it’s tested on a calendar rather than only after something feels wrong.
A maintenance cadence described in Plumbing Checkup’s guide to testing and maintaining a sump pump commonly includes testing every few months and increasing attention before high-risk seasons like spring thaw, while also noting that some exterior discharge extensions can create freeze problems in winter if they trap water.
Build your winter rhythm around three checkpoints:
This rhythm does two things. It reduces surprise failures, and it creates a simple “maintenance record” you can point to if you ever need a plumber, contractor, insurer, or home inspector to understand what changed and when.
Put a reminder in your phone titled “Sump Discharge Check” and tie it to the first warm spell. Thaws are your real test environment, so schedule the check when conditions are most revealing.
If your discharge line is prone to freezing, you may benefit from a dedicated cold-weather add-on that provides an alternate path for water to escape.
A product explanation in Basement Systems Canada’s description of the IceGuard discharge fitting describes an exterior anti-freeze fitting that can provide a secondary outlet for water if the main discharge line becomes clogged or frozen, helping prevent basement flooding without requiring homeowner intervention at the moment of failure.
The strategic role of a freeze guard is not to replace good routing—it’s to reduce the single-point-of-failure risk when a buried or long discharge run freezes.
A practical decision filter:
Because installation is exterior and tied into the discharge line, this is usually a professional install. Your job as a homeowner is to understand what problem you’re solving: creating a fail-safe path so the pump isn’t trapped pushing against an ice plug.
When homeowners discover a frozen discharge line mid-winter, the instinct is to “just melt it.” That’s where unsafe methods can enter the picture.
Restoration guidance in PuroClean’s recommendations for preventing and addressing frozen sump pump lines warns against using open flame such as a blow torch to thaw a pipe and points toward safer approaches like controlled heat sources, while also emphasizing calling a professional if the situation can’t be addressed safely.
At the same time, prevention is often about temperature control around vulnerable components. Winter plumbing advice in CAN Plumbing and Drainage’s tips for keeping a sump pump from freezing emphasizes keeping the area around the sump system above freezing and addressing insulation and air leakage so discharge components are less likely to freeze.
Use this two-part approach:
If you’re unsure whether the discharge line is frozen or clogged, repeated pump operation can be harmful. A pump that runs against a blockage can overheat and fail at the exact time you need it most.
A sump pump protects you from groundwater pressure. A backwater valve protects you from sewer backflow. In older neighbourhoods or during heavy-flow events, that distinction matters.
A clear homeowner explanation in Square One Insurance’s guide to backwater valves describes how a typical residential backwater valve is installed on the main sewer line and uses a flap mechanism that allows normal flow out of the home while closing automatically if wastewater starts flowing back toward the house, and it also emphasizes routine inspection steps like clearing debris and checking seals and moving parts.
Your winter check should include three practical actions:
If you’ve never seen your backwater valve, treat that as a winter checklist gap. You don’t want your first “inspection” to happen during an active backup.
Don’t permanently finish over the valve location. Accessibility is not a nice-to-have—it’s what makes inspection and clearing possible when conditions are bad.
Backwater valves are simple, but they’re not “set and forget.” The common failure mode is obstruction: debris prevents full movement or full sealing.
Homeowner guidance in Bromac Mechanical’s explanation of backwater valves and warning signs highlights practical indicators like slow drains or repeated minor backups as reasons to suspect a valve issue and schedule professional inspection, because these are often early warnings rather than random plumbing bad luck.
If you suspect a sewer backup is happening right now, behaviour matters as much as hardware. Municipal guidance in Halton Region’s backwater valve information and subsidy page advises homeowners to stop using water during an active backup to avoid adding more wastewater to an overloaded line, then resume use after normal flow returns.
In practical terms, your “thaw emergency script” can be:
This is also where documentation matters. If you experience any sewer backup or basement flooding, photograph affected areas early and keep records of any plumber visits, cleanup steps, and damaged contents.
Backwater valves intersect with code, permits, and insurance in a way sump pumps often don’t. That’s one reason they’re not typically treated as DIY upgrades.
Insurance guidance in iA Financial Group’s overview of backwater valves notes that installation expectations can involve certified plumbing professionals and that sewer backup coverage is often an optional add-on rather than a default guarantee, which makes proactive prevention and documentation especially important for homeowners.
There’s also a broader direction of travel in Canada: backwater valves are increasingly framed as a standard resilience measure rather than an optional upgrade. Industry reporting in Canadian Underwriter’s discussion about interpreting codes to require backwater valves highlights recommendations that building and plumbing code guidance should be interpreted in a way that leads to widespread installation in new homes connected to underground sewers.
A related perspective in Canadian Underwriter’s “open to interpretation” coverage of backwater valve requirements reinforces that code interpretation and implementation can vary, which is exactly why homeowners should verify local requirements and use qualified professionals when installing or modifying these devices.
Here’s the homeowner-level playbook:
This isn’t about being alarmist. It’s about making winter resilience predictable: you want systems that work under stress and paperwork that’s easy to produce if you ever need it.
Frozen ground can’t absorb meltwater the way thawed soil can, so water runs across the surface, collects near foundations, and increases pressure against basement walls and floor joints. A thaw can also coincide with sewer surcharge conditions, so you can face groundwater seepage and sewer-backup risk in the same event.
Do a controlled bucket test: add enough water to lift the float and trigger the pump, then confirm it cycles on and off normally. The winter-specific step is to also verify water is visibly discharging outside, because a frozen or blocked discharge line can make a running pump ineffective.
Not always. A pump can run while a discharge pipe is blocked by snow, ice, or internal freezing, which prevents water from leaving the home. The only way to be sure is to confirm the pit water level drops and water is exiting outside where the line terminates.
Clear loose stones, silt, and debris that could block the float or jam moving parts. Confirm the pump sits level and that cords or piping aren’t interfering with float movement. A clean pit makes winter testing more reliable and reduces surprise failures during the first thaw.
Red flags include a pump that never turns on during a bucket test, a pump that won’t shut off, or a float that visibly catches on the pit wall or debris. If the float can’t move freely, treat it as a priority repair because the pump can fail in either the “off” or “on” direction.
The discharge line. Winter freeze–thaw cycles, buried outlets, and flat sections that hold water can create ice plugs that disable the system even when the pump itself is mechanically fine.
That setup often increases risk because discharged water can refreeze at the outlet or recycle back toward the footing. A winter-resilient layout moves water away from the foundation and keeps the line sloped so it drains after each cycle.
Start by confirming whether the blockage is at the outdoor termination point or within the line. Use controlled, safe heat rather than open flame, and avoid repeatedly forcing the pump to run against a blockage. If you can’t restore flow safely, call a professional.
It’s an exterior fitting designed to provide a secondary escape route for water if the main discharge line becomes frozen or clogged. It’s most useful when you have recurring winter freeze-ups and want redundancy that doesn’t rely on homeowner action during the event.
It sits on the main sewer line and allows normal wastewater flow out of the home, but it closes automatically if wastewater starts flowing back toward the house. The goal is to stop sewage from entering through basement drains and fixtures during sewer surcharge events.
At least annually, and any time you’ve had plumbing symptoms like slow drains or minor recurring backups. Inspection focuses on debris removal, confirming moving parts can travel freely, and ensuring seals are intact so the valve can close properly during backflow.
Stop using water in the home to avoid adding flow into an already overloaded system. Avoid running fixtures to “test” drains. Once normal flow returns, schedule a professional inspection so you’re not guessing about valve condition after the event.