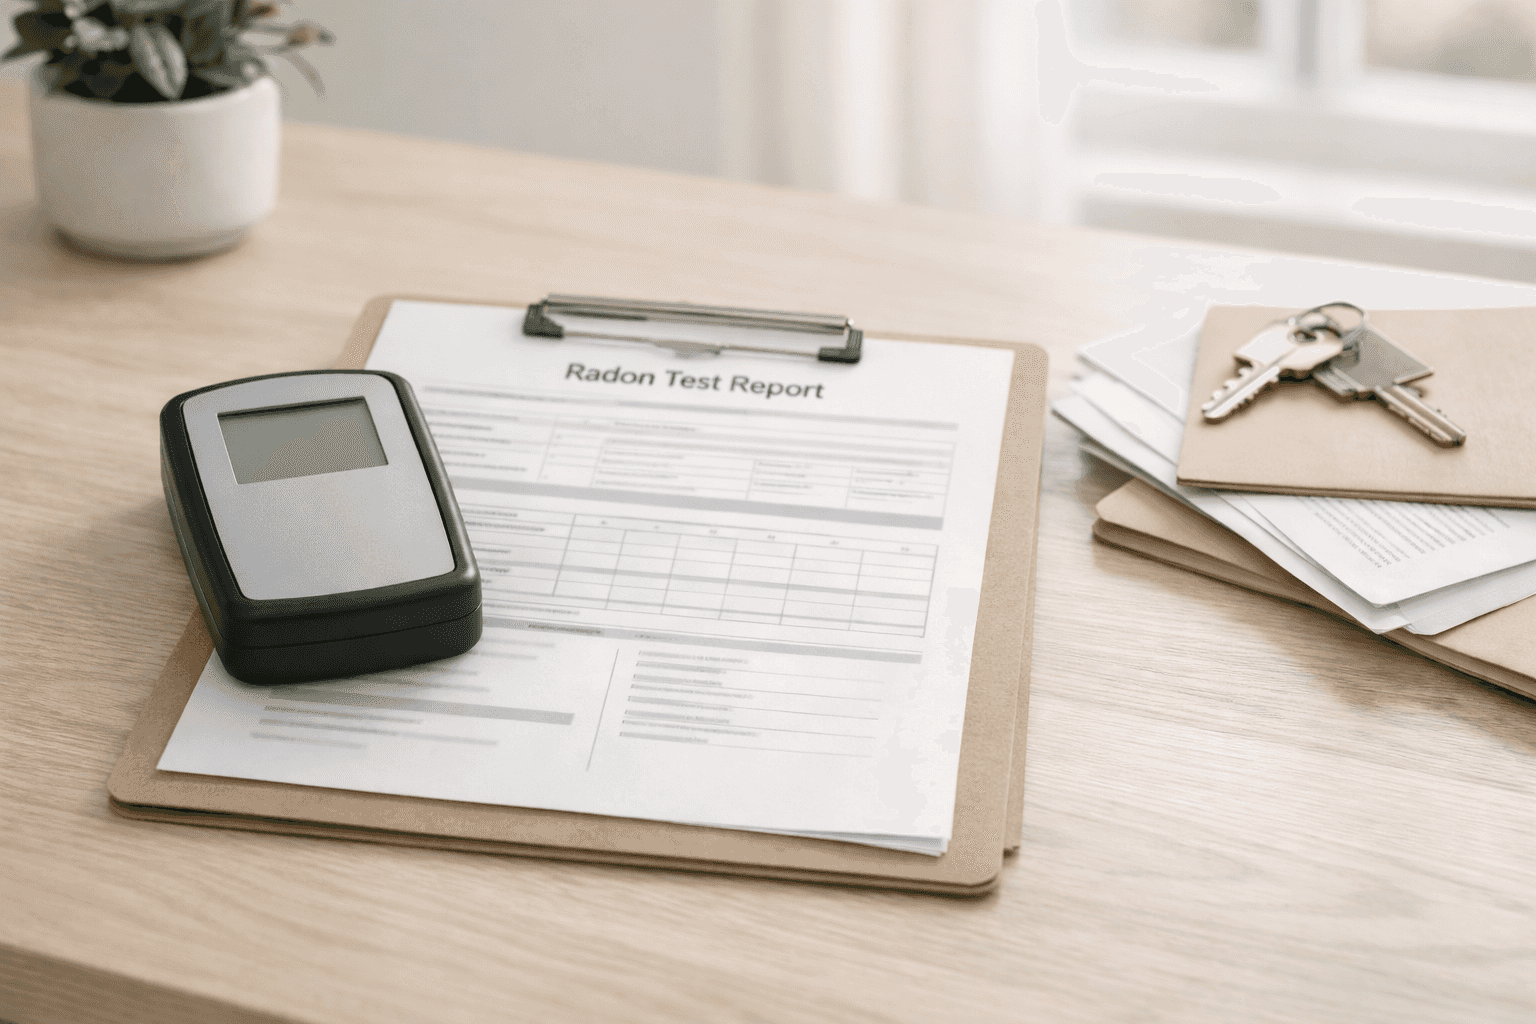
Where to Place a Radon Detector in Your Home: Basement Setups, Sump Pits, and HVAC Gotchas
A Practical Placement Playbook That Keeps Your Test Valid and Your Results Useful
By
Published: March 14, 2026
Updated: March 15, 2026
Credit: Homeowner.ca
Key Takeaways
•Start with the right floor: the lowest level where your household actually spends meaningful time.
•Place the device in the breathing zone and keep it away from walls, vents, drafts, heat, and direct sun.
•Avoid “convenient” problem spots like sump lids, furnace rooms, bathrooms, closets, and unfinished storage areas.
A radon test is surprisingly easy to do—and surprisingly easy to mess up with one small decision: where you put the device. If placement is off, your result can be less representative of what you and your family actually breathe in day-to-day, which defeats the whole point of testing.
Canadian homes have a few placement traps that show up again and again: finished basements with cozy rec rooms beside mechanical rooms, sump pits tucked into corners, floor drains near the laundry area, and ventilation systems (forced-air furnaces, HRVs, ERVs) that can create strong local air currents. Even “good intentions” like hiding the device from kids in a closet or putting it on a windowsill because it feels out of the way can quietly undermine the test.
The goal of this guide is simple: help you choose a placement that’s valid (aligned with official placement rules) and practical (unlikely to get bumped, moved, or exposed to weird airflow). You’ll get a clear framework you can apply to a finished basement, a partly finished basement, a bungalow with an unfinished lower level, and even condos and townhomes where the “lowest level” question gets fuzzy.
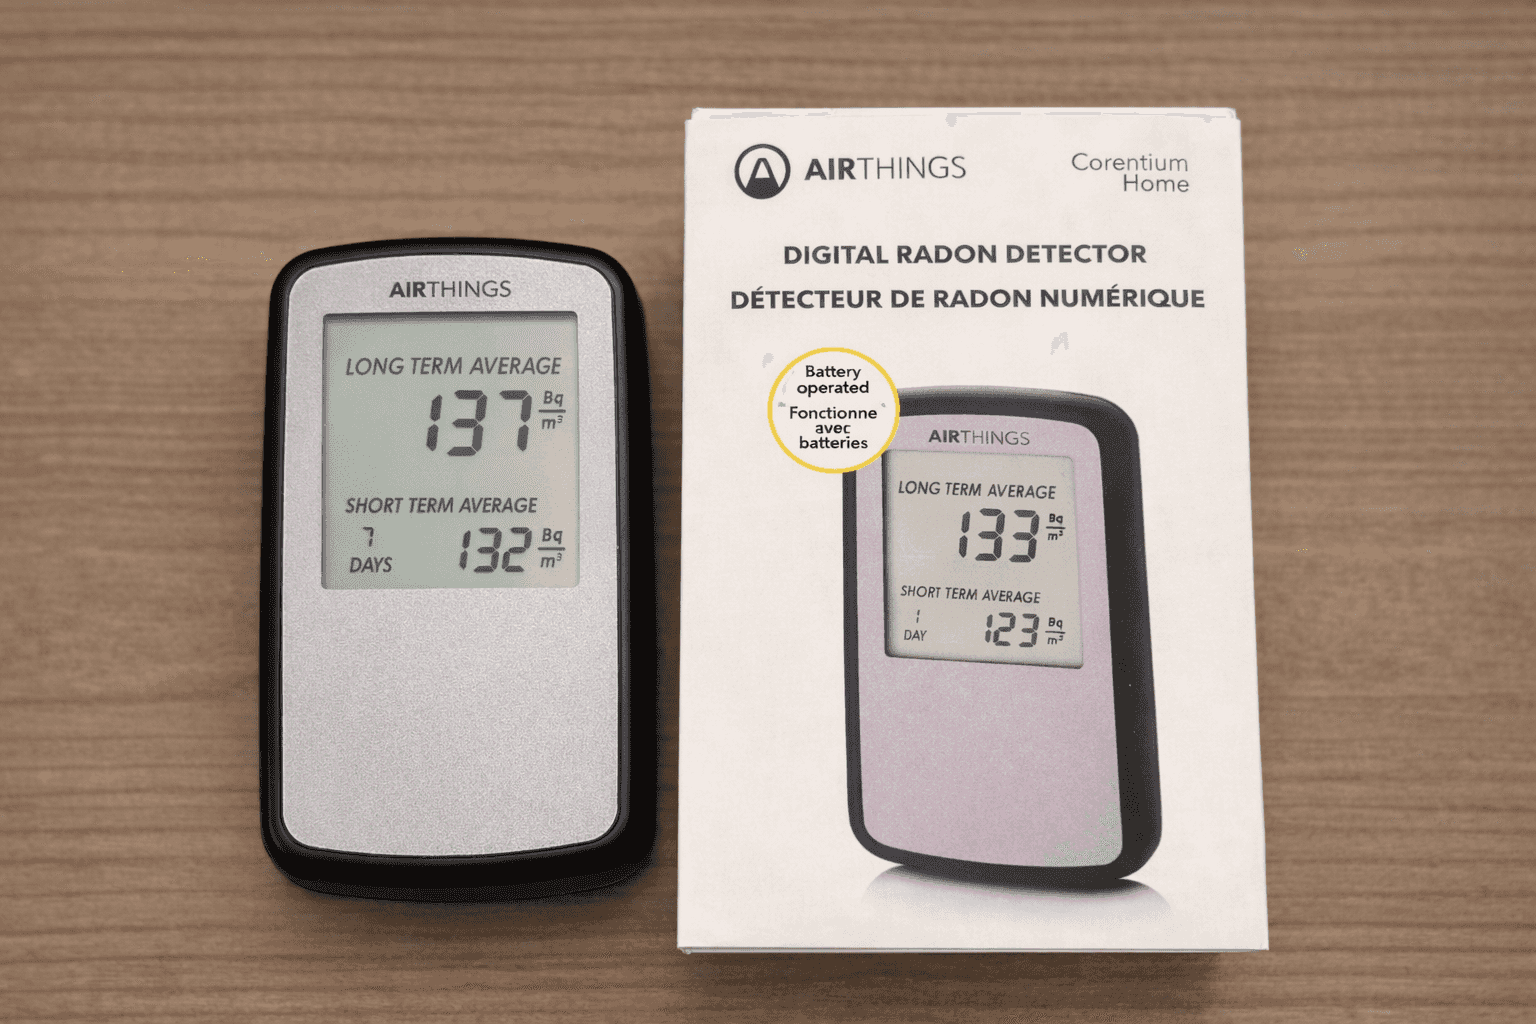
One more reality check before we start: a long-term test is a commitment. In Health Canada’s Radon Reduction Guide for Canadians the recommended approach is a multi-month measurement because radon levels can swing meaningfully over time, which means you’ll want a placement you can leave alone without “optimizing” it mid-test.
Advertisement — Article Continues Below
Start With The Lowest Lived-In Level
Decide The Floor First, Then Choose The Room
If you remember only one rule, make it this: the “best” room is on the “right” floor. In Health Canada’s long-term test instructions the placement direction is to test on the lowest level where someone in the home spends at least four hours a day—think basement family room, den, playroom, or a bedroom if that’s where life actually happens.
That phrasing matters in Canada because “basement” doesn’t always mean “lived-in.” Here’s how to interpret it in real homes:
Finished basement with regular use (rec room, office, teen bedroom, playroom): the basement is typically your starting point.
Unfinished basement that’s basically storage + furnace + laundry: the main floor may be the lowest lived-in level that represents exposure.
Raised bungalow / split-level: the “lower level” might be a bright half-basement family room that’s used daily—treat it like a lived-in level.
Slab-on-grade (no basement): your main floor is the lowest lived-in level by default.
A useful mental shortcut is to ignore the label (“basement,” “cellar,” “lower level”) and focus on behaviour: where do you spend time breathing the air for long stretches? If the honest answer is “not downstairs,” you don’t gain anything by placing the device beside the water heater “because it’s the basement.”
Note
If your basement is mostly unfinished but you do spend time down there (home gym, workshop, WFH desk), use your best judgement on whether that space truly represents four-hours-a-day living. If it doesn’t, you’re usually better off testing the main floor first, then following up with more targeted testing later.
Advertisement — Article Continues Below
Pick A Room Where People Actually Breathe The Air
“Normal Occupancy” Beats A Convenient Corner
Once you’ve chosen the correct level, choose a room that reflects normal daily life. In Health Canada’s guide for radon measurements in residential dwellings the emphasis is on placing the device in a normally occupied room (bedroom, living room, office, playroom) and in a spot where it won’t be moved during the test period.
This is where many Canadian basements create a “false choice.” Homeowners often stand in the finished rec room and think:
“Kids will touch it in here…”
“It’s safer in the furnace room…”
“I’ll just put it on top of the freezer in the storage area…”
That’s the wrong tradeoff. The measurement is supposed to represent typical exposure, so the best room is usually the one where you can answer “yes” to both:
People spend real time here (not just quick trips to swap laundry).
You can protect the device from disturbance without hiding it in an enclosed space.
Practical room picks that usually work well:
Basement family/TV room: side table near seating, away from supply registers.
Home office: a stable surface that doesn’t get bumped by chair movement.
Guest room used often (or teen bedroom): a surface that isn’t constantly rearranged.
Playroom: only if you can keep it out of reach without putting it in a closet or behind furniture.
If your lowest lived-in level is open-concept (rec room + hallway + bar area), you’re still aiming for the “normal occupancy zone”—the part of the space where people linger.
Tip
If you’re worried about kids or pets, think elevation and signage, not concealment. A shelf at an appropriate height that’s not cluttered, plus a small “Do Not Move” note, is usually safer (and more valid) than hiding the device in a closet.
Use A Simple Height Band And Avoid Boundary Surfaces
After “which level” and “which room,” the next biggest win is choosing a spot that represents the air you actually breathe—not the air sitting right against the slab or hugging a foundation wall.
In Health Canada’s long-term test instructions the device is meant to sit in the typical breathing zone, roughly 0.5 to 2 metres above the floor, and positioned so normal airflow can reach it.
In a real Canadian basement, that often means:
A small table near the couch (not on the floor beside the couch).
A sturdy shelf that’s not jammed between tall items.
A dresser or cabinet top in a bedroom (not inside drawers, not in a closet).
Avoid the urge to “go low” because radon comes from the ground. You’re not trying to measure a crack in the slab—you’re trying to measure the air in the room where people exist.
A simple way to sanity-check height:
If it feels like something you’d put at “coffee table height” or “waist to chest height,” you’re usually in the right band.
If it’s sitting on the slab, on a stair tread, or on the top edge of a foundation ledge, you’re usually not.
Important
“Breathing zone” is about representativeness, not convenience. A device tucked low behind a couch might feel protected from bumping, but it’s more likely to be sampling a micro-environment that doesn’t match the room.
Advertisement — Article Continues Below
Keep It Off Walls, Corners, And Tight Nooks
Clearance Rules Are About Avoiding Weird Micro-Zones
A lot of basements have a “nice safe corner” that looks perfect—until you remember corners are exactly where air can behave differently (less mixing, more boundary-layer effects, and more temptation to tuck the device tight to the wall).
Don’t rest the device directly against a foundation wall (even if the wall is finished with drywall).
Don’t wedge it into a tight corner behind a tall cabinet.
Don’t perch it on a window ledge that’s basically an exterior boundary.
Do keep it out in the room on a stable surface with air able to circulate around it.
Canadian basements make this harder because exterior foundation walls can run colder, especially during heating season. Even if your basement is finished and comfortable, the air right against those surfaces can behave differently than the air where people sit and walk.
Tip
If your room is tight, aim for “one step out from the wall.” If you can stand where the device sits without feeling like you’re pressed into furniture, you’re usually avoiding the worst corner effects.
Here are common “looks fine but isn’t” placements:
On a bookshelf where books touch both sides of the device.
On a storage rack where bins wrap around it.
Behind a TV, soundbar, or gaming console cluster.
On a bar counter crowded with small appliances or bottles.
Better options in the same rooms:
A side table with a clear top surface.
A shelf where the device is at the front edge with open air around it (not buried).
A cabinet top where you can keep the area clear for the full test period.
Note
If the device is getting “lost” visually, that’s often a clue it’s too boxed in. The goal isn’t aesthetics—it’s normal airflow.
Advertisement — Article Continues Below
Stay Clear Of Drafts And Mechanical Air
HVAC Registers, HRVs, Fans, Doors, And Stairwells Are The Big Gotchas
Basements and lower levels are where Canadian mechanical systems tend to concentrate, and that’s where placement mistakes spike.
In Health Canada’s guide for radon measurements in residential dwellings the placement rules include keeping the device well away from vents, windows, doors, and other sources of direct air currents because airflow can dilute or spike what the device “sees” compared to the room average.
Think in terms of local wind inside the home. Your goal is a spot where the air is mixing naturally, not being blasted by a supply register or tugged by a return.
Common Canadian setup issues (and what to do instead):
Forced-air furnace basements
Problem: supply vents can create a steady stream of air.
Better: place the device in the same room but away from the direct path between a supply register and a return.
HRV / ERV systems
Problem: dedicated exhaust/supply points can create localized movement even when the space feels calm.
Better: avoid the immediate zone around those vents and pick a stable surface in the lived-in area.
Stairwells and doorways
Problem: the air can “channel” through stair openings and frequently used doors.
Better: step deeper into the room, away from the stair landing and main walking line.
Fans and portable air movers
Problem: a dehumidifier fan, box fan, or even a nearby air purifier can produce directional airflow.
Better: choose a spot outside the fan’s throw, in the part of the room that stays calm.
Important
If you can feel a draft standing where the device would sit, treat it as a “no” by default. Drafty placement tends to produce readings that are less representative of the room overall.
Don’t Put It In “Off-Limits” Rooms Just Because They’re Out Of The Way
Humidity, Temperature Swings, And Unfinished Zones Are A Classic Trap
A lot of homeowners place the device where it’s least likely to be touched—and accidentally choose the exact rooms that official guidance warns against.
In Health Canada’s long-term test instructions the “do not place” list includes kitchens, bathrooms, laundry rooms, closets, and unfinished areas of the basement. Those rooms tend to have higher humidity, bigger temperature swings, and less consistent occupancy, which makes them poor representatives of typical exposure.
What this means in real Canadian homes:
Laundry area in the basement: even if it’s near the rec room, it’s still not the best sampling location.
Unfinished furnace/storage room: even if it’s the biggest open space, it’s not where people spend time.
Bathroom off the basement hallway: even if it’s central, humidity and intermittent use make it a bad pick.
And if your main motivation is “I need to keep it away from kids/pets,” be careful not to solve that by placing it in an enclosed space. In Health Canada’s guide for radon measurements in residential dwellings enclosed spaces like closets and drawers are specifically discouraged, along with high-humidity zones and placements near humidifiers or sunrooms.
Warning
The most common “invalid but tempting” placements are closets, laundry corners, and furnace rooms. If you’re standing there thinking “no one will touch it here,” that’s your cue to step back into the lived-in part of the level.
Advertisement — Article Continues Below
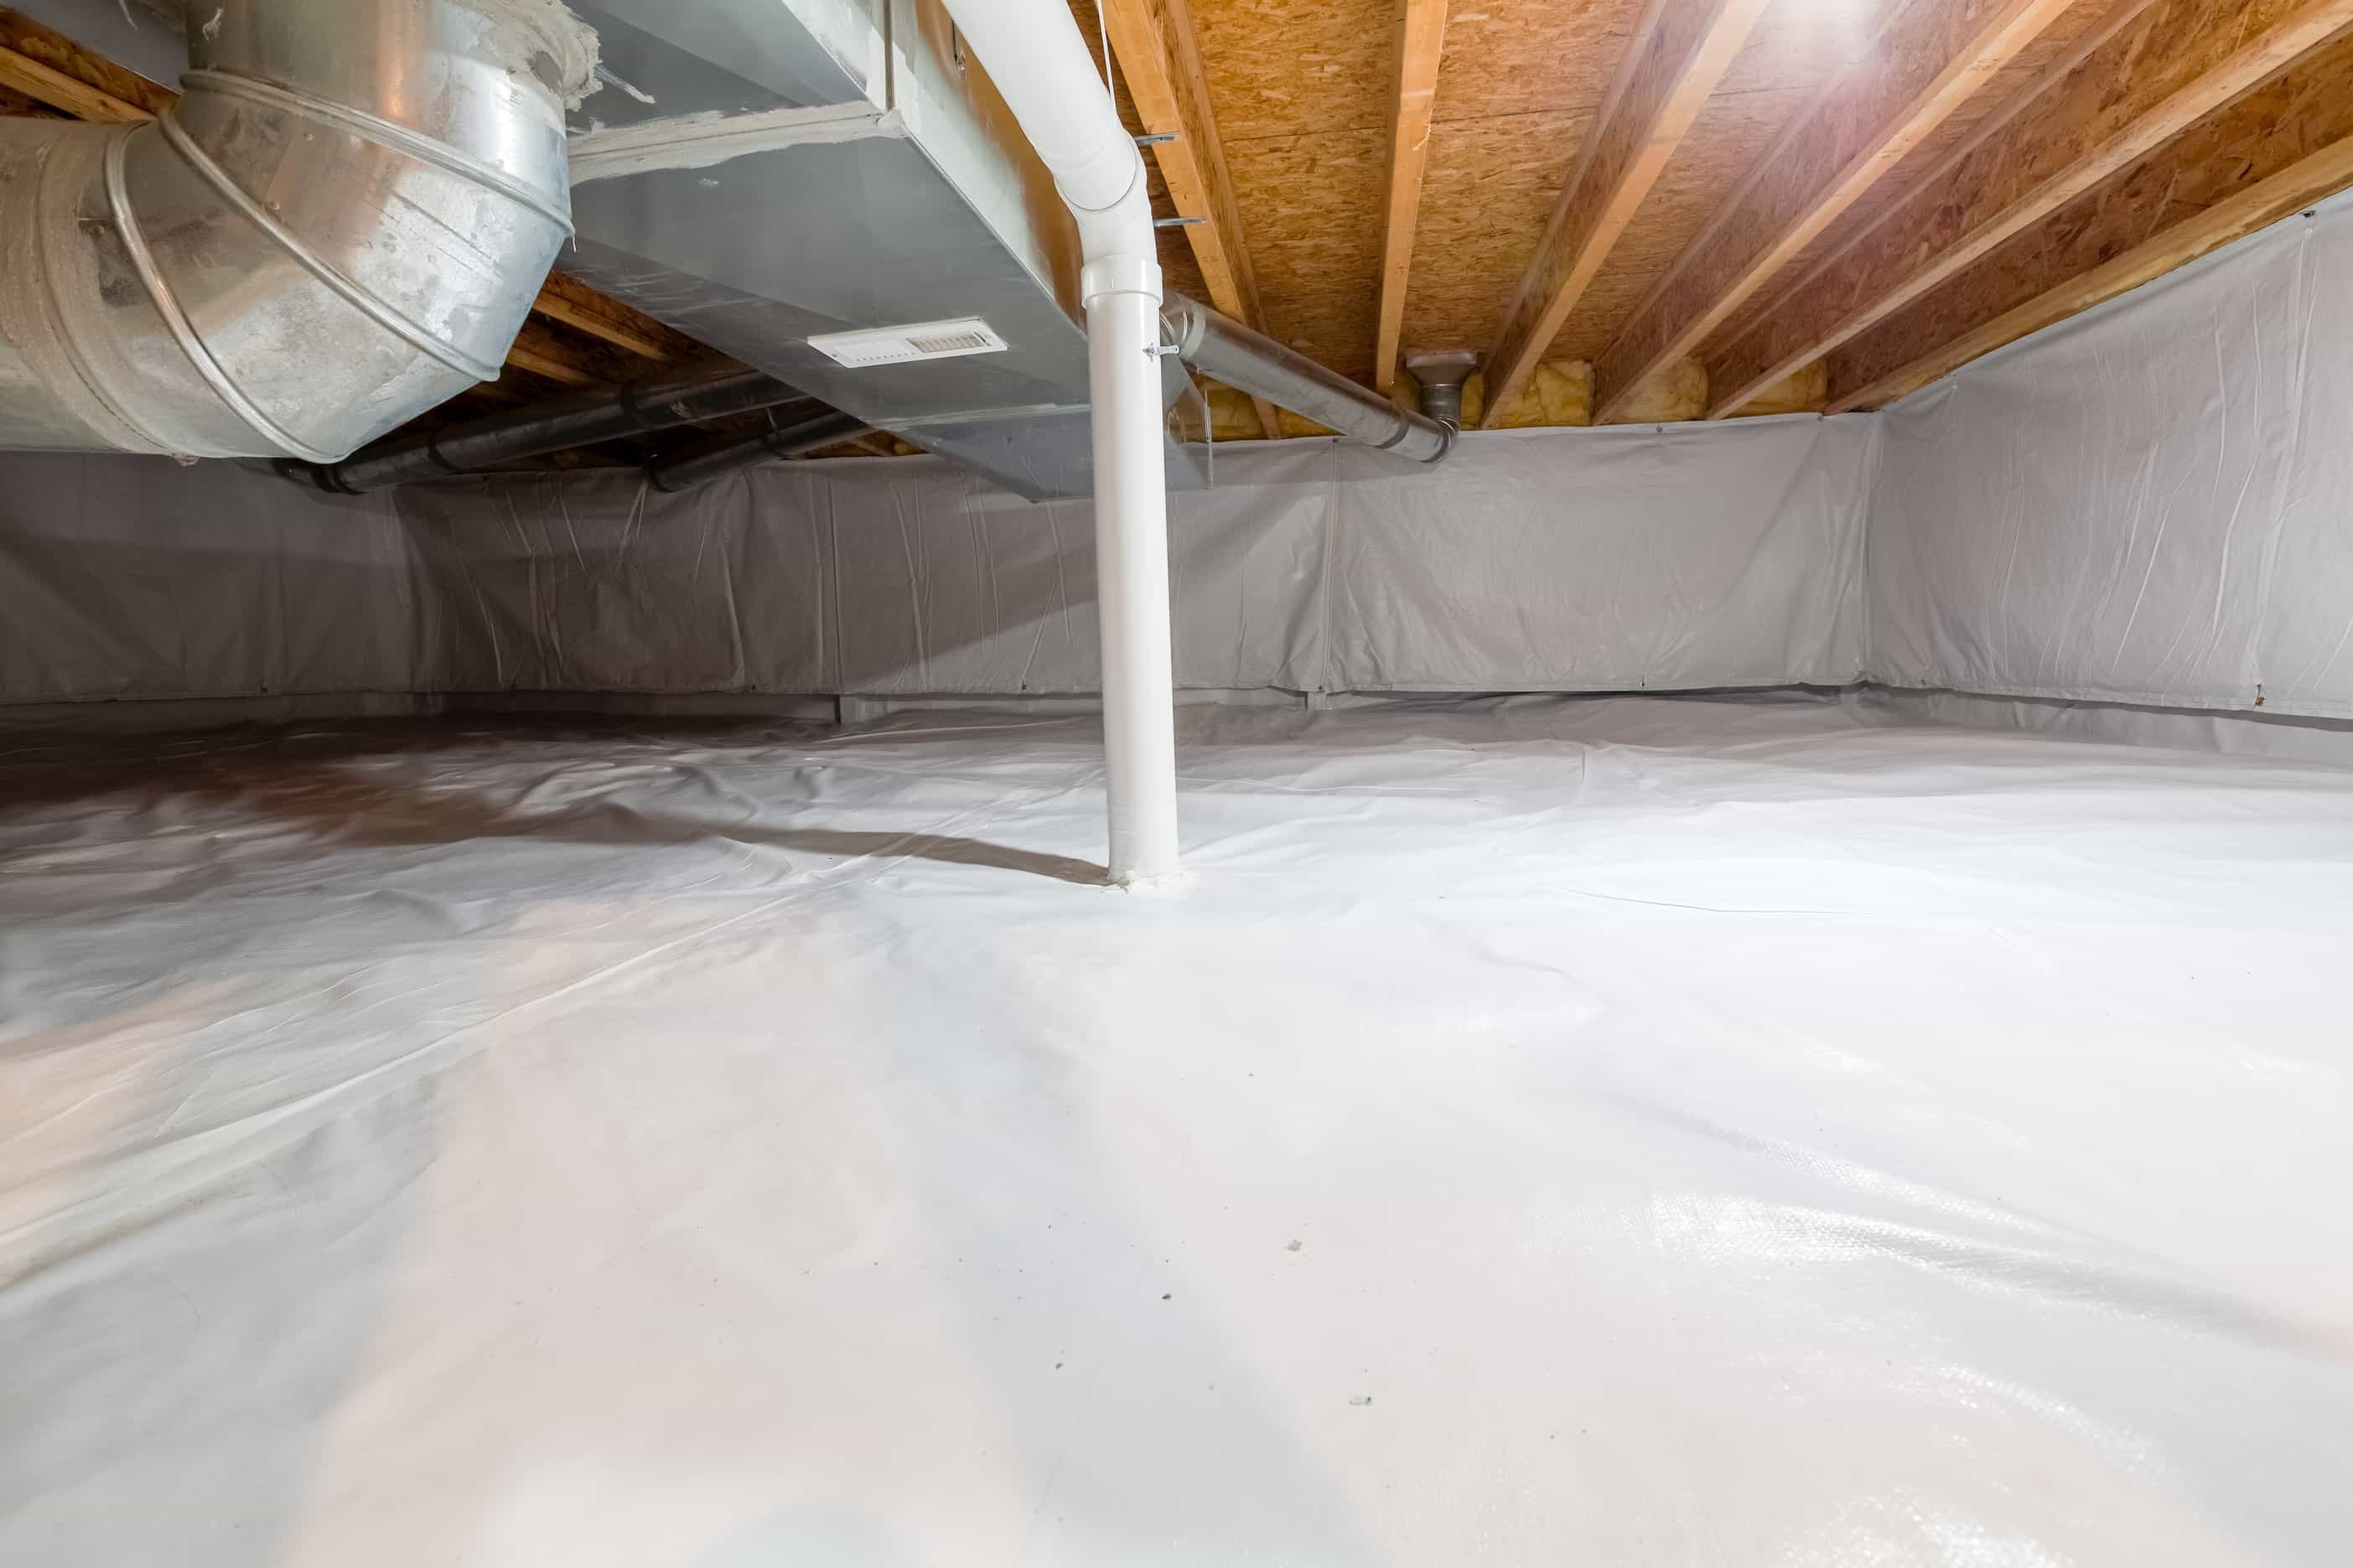
Treat Sump Pits, Crawlspaces, And Foundation Cracks As “No-Place Zones”
Entry Points Can Over-Represent Local Levels
Canadian basements often include sump pits, perimeter drains, floor cracks, and sometimes crawlspace access. Those features can feel like the “smart” place to measure because they’re associated with air entry—but that’s exactly why you should avoid them for a representative reading.
In Health Canada’s guide for radon measurements in residential dwellings typical entry points such as sump holes, crawl spaces, and exposed foundation cracks are listed as locations to avoid because placing a device right beside them can artificially increase the measurement and fail to represent the normal breathing zone.
Here’s the practical rule-of-thumb:
Don’t measure the “source.” Measure the room.
Don’t place the device on a sump lid, beside a floor drain, or against a cracked slab edge.
Do place it in the lived-in area across the room where people sit, watch TV, work out, or play.
A simple basement example:
Your sump pit is in the corner near the furnace room.
Your family actually spends time in the rec room area.
The valid placement is usually a stable surface in the rec room area, away from the sump corner and away from vents.
If you’re worried about the sump specifically, you can still address that concern later with additional testing strategies—but your first priority is getting a representative baseline on the lowest lived-in level.
Tip
If the sump pit is the only “open” spot in a cramped basement, don’t default to it. Look for the best compromise in the lived-in zone: a small table, a shelf, or a cabinet top that stays put.
Advertisement — Article Continues Below
Avoid Heat Sources And Direct Sunlight
Fireplaces, Radiators, And Sunny Windowsills Create Local Distortions
Even in winter, Canadian homes can have surprising hot spots: gas fireplace mantels, baseboard heaters, radiant panels, sunny window wells, and warm-air registers.
The pattern to avoid is localized heating that creates a small convection loop right where the device sits. Common examples:
On the mantel above a gas fireplace.
On the window ledge in a sunny basement bedroom.
On a shelf directly above a baseboard heater.
Better alternatives:
Move the device to a stable surface deeper in the room.
Choose an interior wall side table instead of an exterior window area.
Keep it away from the direct heat plume even if the device is still in the same room.
Note
This isn’t about keeping the device “cool.” It’s about avoiding placement where the air behaves differently than the average room air.
Advertisement — Article Continues Below
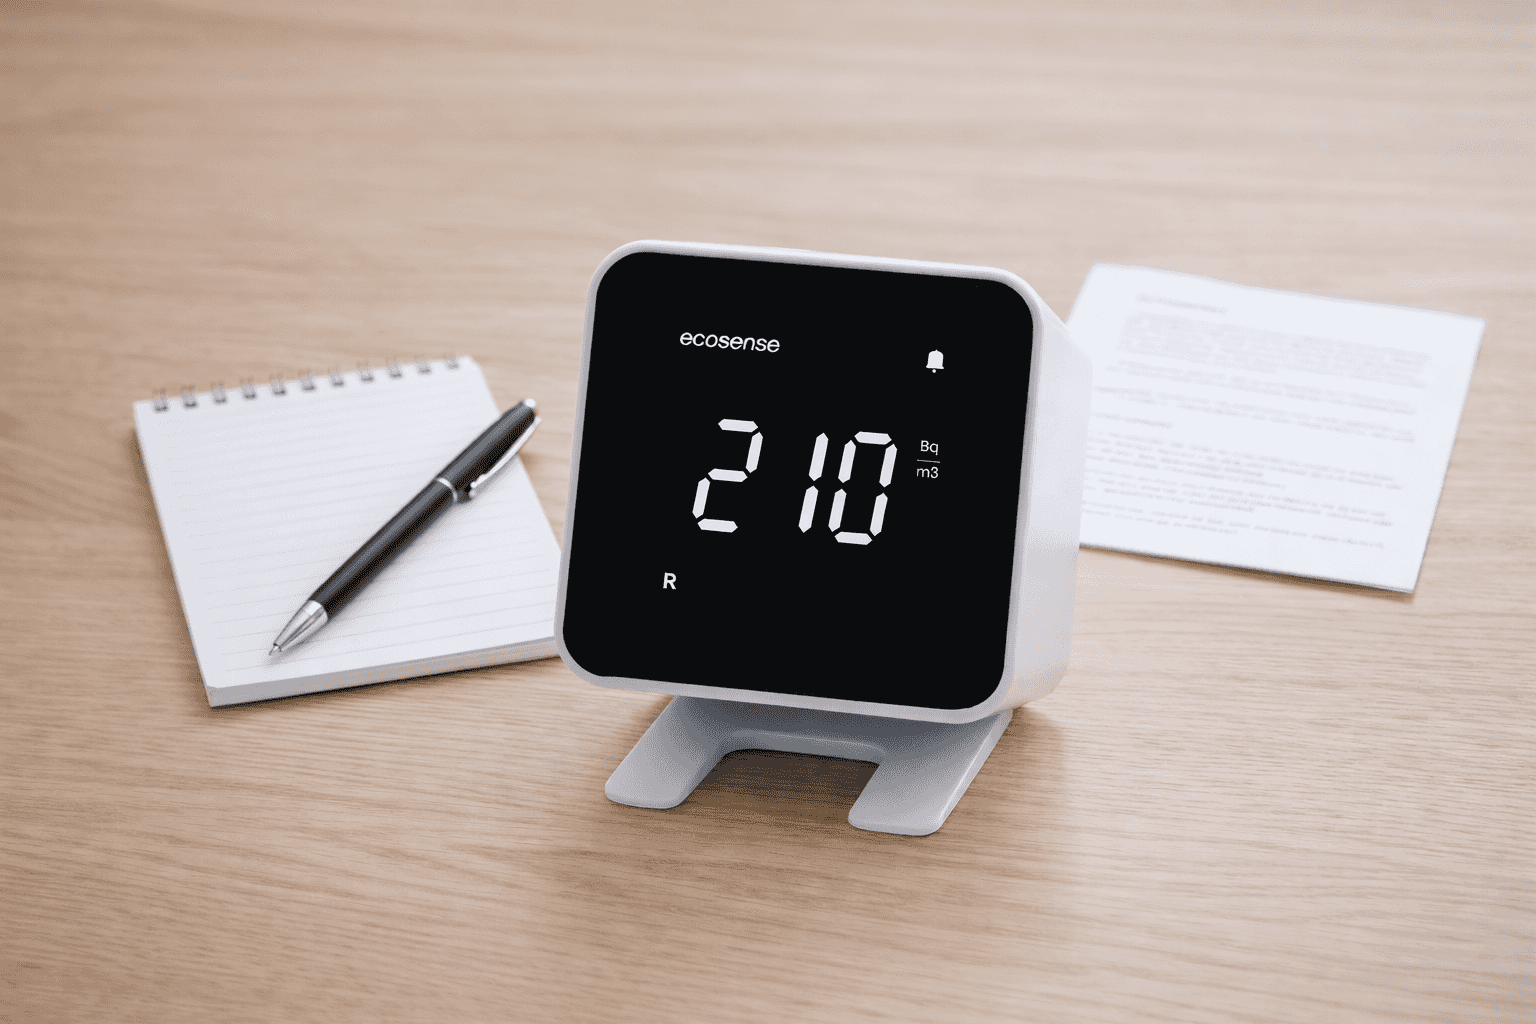
Commit To One Stable Spot For The Full Test Period
Stability Beats “Room Hopping” Every Time
It’s tempting to treat a radon device like a mobile sensor: “I’ll try the basement for a week, then the bedroom, then the office.” That impulse is understandable—and it’s usually counterproductive.
In Health Canada’s Radon Reduction Guide for Canadians the guidance emphasizes that levels can vary significantly over time, which is a core reason long-term tests and stable placement are recommended rather than moving the device between rooms or levels.
A practical “make it doable” approach:
Pick the room you’re confident represents normal occupancy.
Pick the micro-location you can protect from disturbance.
Treat the area like a “no-touch zone” for the duration.
Ways to make stable placement realistic in a busy house:
Put it on a side table that doesn’t get used for daily clutter.
Use painter’s tape to mark the device footprint and discourage “tidying.”
Tell everyone in the household what it is and why it can’t be moved.
Avoid placing it on a desk that gets rearranged or cleaned aggressively.
Important
Your placement goal isn’t perfection—it’s consistency. A “pretty good” placement left undisturbed is generally more useful than a series of “better” placements that get moved repeatedly.
Advertisement — Article Continues Below
Condos And Townhomes: Make Placement Reflect Your Actual Unit
The “Lowest Lived-In Level” Rule Still Applies—You Just Define It Differently
Multi-unit living adds one big twist: the building structure may include parkades, common mechanical spaces, and stacked units, but your test still needs to reflect where you live and breathe air.
In Health Canada’s Healthy Home guide the framing reinforces that testing guidance is about the lowest level of the home where people actually spend time, which can be a basement or a first floor depending on how the space is used.
How to apply that in common Canadian setups:
Condo unit (single level)
Your “lowest lived-in level” is simply your unit level, because that’s where you spend time.
Choose a normally occupied room (living room or bedroom) and apply the same micro-placement rules: breathing zone, away from vents, away from windowsills, away from enclosed spaces.
Stacked townhouse / multi-level townhouse
If you spend most evenings on the ground-floor living area, that’s a strong candidate.
If the basement is finished and used daily (office, family room), treat it like a lived-in level and start there.
Ground-floor unit above a parkade or shared space
Treat your unit like the “lowest lived-in level” of your living environment and place the device in a representative room.
If you’re unsure where to start—or you want region-specific support—using an official directory is faster than guessing. In Health Canada’s action guide for provinces and territories you can find jurisdiction-specific resources that help homeowners and residents navigate next steps.
Tip
In condos, the biggest placement mistakes are usually the same as in houses: hiding the device in a closet, placing it beside a supply vent, or putting it on a sunny window ledge because it feels “safe.” Keep it representative and undisturbed.
Advertisement — Article Continues Below
A Quick Basement Walkthrough For Common Canadian Layouts
Three Real-World Setups And The “Least-Wrong” Spot In Each
Sometimes the rules are clear—but the space is messy. Here’s how to translate the guidance into typical basement archetypes.
Before you place anything, it can help to skim Health Canada’s testing your home guidance so you’re aligned on the overall testing approach and why consistent setup matters.
Setup A: Finished Rec Room + Separate Furnace Room + Sump Pit In A Corner
What you have: TV area and couch, a closed mechanical room, and a sump pit near the utility side.
Placement that usually works best:
In the rec room where people sit, on a side table at breathing-zone height, away from supply/return vents and away from the sump corner.
What to avoid:
On the sump lid “because that’s where radon comes in.”
In the furnace room “because no one will touch it.”
On the floor behind the couch.
Setup B: Partly Finished Basement With Open Mechanical Area
What you have: One open space that blends a workout area, storage, and mechanical equipment.
Placement that usually works best:
In the part of the space that functions like a living area (gym corner, desk area, seating), on a stable surface away from obvious airflow sources.
What to avoid:
Directly beside a running dehumidifier fan.
Right under a supply register.
Tight to the foundation wall in the coldest corner.
Setup C: Unfinished Basement + Main Floor Is Where Life Happens
What you have: Basement is storage/laundry/mechanical; main floor is kitchen, living room, bedrooms.
Placement that usually works best:
Main floor living room or bedroom, choosing a stable surface and applying the same breathing-zone and airflow rules.
What to avoid:
Forcing a basement placement just because it exists.
Placing the device in a laundry corner or storage closet to keep it “out of the way.”
Here’s a quick reference table you can use to sanity-check your plan:
Home Feature Or Constraint
Better Placement Strategy
Common Mistake To Avoid
Sump pit / floor drain present
Place across the room in lived-in zone
Putting device on sump lid or beside drain
Forced-air vents nearby
Move deeper into room away from vent path
Placing device near supply register
Kids/pets in basement
Elevate and keep area clear, use a note
Hiding device in a closet or drawer
Basement mostly storage
Test main floor if it’s the lowest lived-in level
Testing in unfinished areas “because basement”
Sunny window wells
Choose interior-area surface
Windowsill placement for convenience
Important
When you’re stuck between two imperfect spots, choose the one that best represents where people spend time and is least likely to be disturbed—even if it’s not the “most central” point on the floorplan.
Advertisement — Article Continues Below
When You Need Local Next Steps, Use Official Action Guides
Province And Municipality Pages Can Save You Hours Of Guesswork
Once you’ve tested, your next questions are usually logistical: who in my area can answer questions, what local resources exist, and how do I interpret next steps without relying on random forum advice?
In Health Canada’s radon action guide for municipalities the intent is to point people toward locally relevant guidance and resources, which can be especially useful if you’re in a condo, dealing with a multi-unit building, or coordinating with property management.
This is also the cleanest way to keep your decision-making grounded in Canadian context rather than copying advice that assumes a different climate, different home construction, or different public health guidance.
Note
This guide is focused on placement—not remediation strategy. If your result raises questions, use official action guides to find credible, region-specific support rather than “DIYing” decisions off social media threads.
About the Author
Ryan May
Senior Contributor / Founder
Ryan is the founder of Homeowner.ca and a proud Canadian homeowner based in Guelph, Ontario. Over his 25-year career in digital publishing, he has focused on transforming complex information into clear, practical guidance that helps people make confident, well-informed decisions.
Only if the unfinished basement is truly a lived-in space (meaning people spend meaningful time there day after day). If it’s mainly storage and mechanical, your main floor is often the better “lowest lived-in level” for an initial test.
It’s usually a poor choice because mechanical rooms are often unfinished and have atypical airflow. A better approach is placing it in the lived-in area and protecting it from disturbance with elevation and a clear “do not move” reminder.
Generally no. Floor-level placement can reflect a micro-zone that isn’t representative of what you breathe. Aim for a stable surface in the breathing zone instead.
Choose a location away from supply and return registers and out of the “air path” between them. If you can feel moving air at the proposed spot, keep looking.
Avoid that. Entry-point placement can over-represent localized conditions and won’t reflect the typical room air where people spend time.
Don’t hide it in enclosed spaces. Instead, place it higher (still within the breathing-zone range) on a stable surface, keep the area clear, and use a short note to prevent tampering.
For a first test, stable placement in a representative room is usually more useful than moving it around. If you want more detail later, plan additional tests as separate, intentional measurements rather than shifting the same device mid-test.
Yes. Window areas can have drafts and direct sunlight that distort conditions around the device. Prefer an interior location in the same room.
Keep the device away from the dehumidifier’s airflow and avoid placing it in a high-humidity “wet zone” like a laundry corner. Choose a stable spot in the lived-in part of the level with calmer air.
It’s typically your unit level, since that’s where you live and breathe the air. Place the device in a normally occupied room and follow the same airflow and enclosure rules.
Place the device in the part of the space that best represents where people spend longer stretches—usually the TV/seating area or office zone—while avoiding storage corners and mechanical airflow.
Use official Health Canada action guides for provincial/territorial and municipal resources, especially if you need region-specific contacts or building-level coordination.